Starting Something
by Steve Turchet The two most common types of starters found on U.S. WWII vintage and later M-series military vehicles are the Bendix drive and the overrunning clutch. Bendix drive…
by Steve Turchet
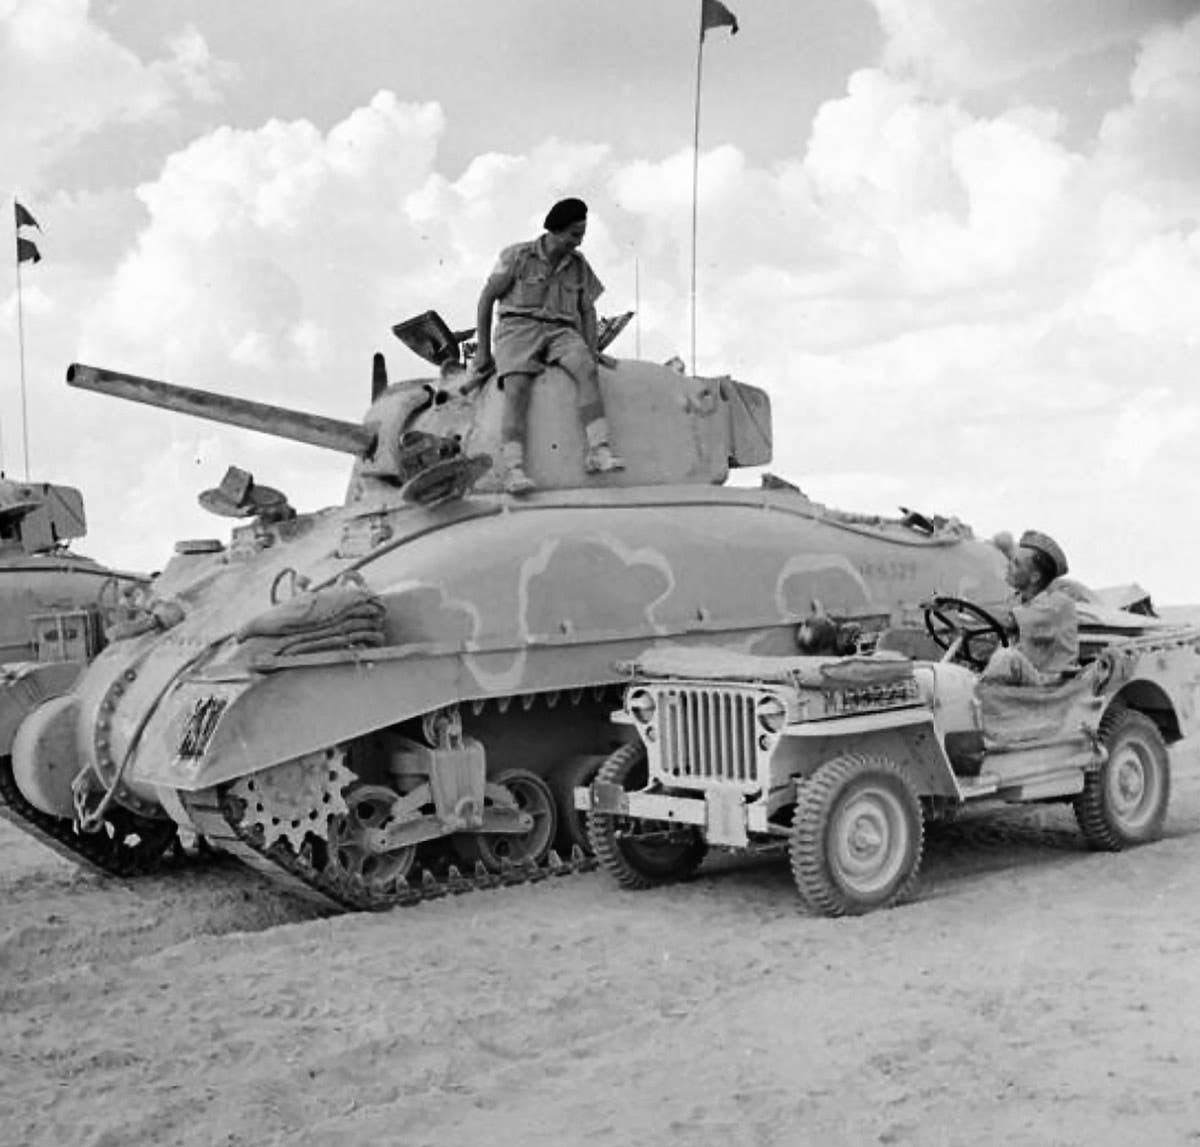
The two most common types of starters found on U.S. WWII vintage and later M-series military vehicles are the Bendix drive and the overrunning clutch. Bendix drive starters were fitted to Willys MB and Ford GPW jeeps, the GTB Burma Jeep, as well as most International and Studebaker vehicles. Bendix drive starters also went in and out of fashion on CJ-2s, CJ-3As, CJ-3Bs, CJ-5s, and most Ford cars and trucks well into the 1960s.
Overrunning clutch-type starters activated by a foot pedal were used in GMC CCKWs, DUKWs, and Chevrolet G-506s. A similar type of overrunning clutch starter was used on most military Dodges from the K-series of the 1930s to the WCs of WWII. In civilian vehicle applications, GMC, Chevrolet, and many Dodge trucks, including Power Wagons, used this type of starter into the mid-1950s; and most starters to the present day are still versions of this type but are activated by a solenoid instead of a foot pedal.
BENDIX DRIVE STARTERS
The basic model of a Bendix drive starter as used on most WWII jeeps has only a one-wire hookup: S heavy-gauge cable that runs from the battery through a foot-operated switch. Stepping on the switch energizes the starter’s field coils, which spins the armature. The armature’s rotation moves the starter’s pinion gear into mesh with the engine’s flywheel ring gear. This, in turn, cranks the engine.
Other than a hand crank, this is about the simplest engine starting system ever devised. It needs no additional wiring, solenoids, switches or push-buttons.
The only drawback is that a Bendix drive starter is prone to damage if engaged while the engine is running… such as a driver accidentally stepping on the switch. If this happens, the engine can spin the starter and overspeed it, melting solder and burning it out.
An additional minor disadvantage to this type of system — at least from the viewpoint of many of today’s drivers — is that in order to keep the electrical cable as short as possible (vital on a 6-volt system and especially important during WWII when copper was scarce), a floor switch must be used.
Seventy-odd years ago, the U.S. military was apparently skeptical about newfangled gadgets like solenoids. These permitted the use of a Bendix drive starter in conjunction with a dashboard-mounted button or key switch.
OVERRUNNING CLUTCH-TYPE STARTER
The basic version of the overrunning clutch starter differs from the Bendix only in the design of its engagement drive. Unlike the Bendix in which the initial rotation of the armature engages the starter’s pinion gear with the engine flywheel, the pinion gear of the overrunning clutch drive is engaged before the armature begins to turn, either in the simplest way by the driver stepping on a foot pedal or by a push-button or key switch-activated solenoid. After the pinion engages, further travel of the linkage closes a switch that energizes the starter’s field coils and spins the armature. Since the overrunning clutch will only drive in one direction, the engine cannot spin it and overspeed the starter if the driver should accidentally step on the foot pedal or push the button while the engine is running.
While there are only two basic types of starters used on most common, vintage historic military vehicles (HMVs), there are many variations in mountings, linkages, and electrical hookups. Though the starters themselves all disassemble in similar ways for service and repair — including the waterproof starters used on most tactical M-series vehicles — the adjustments of foot pedals and related mechanical components for individual vehicles is too detailed to go into here. As I often suggest, “consult your vehicle’s service manual.”
What we will cover in this article is basic maintenance, trouble-shooting, and repair of starters. The illustrations should provide a good general idea as to how they come apart and go back together.
As in previous service articles, I suggest that when you are taking something apart, you should lay out the components in the order in which they were removed. This will often save you a lot of time when putting an assembly back together.
For most HMV owners who work on their own vehicles, a basic disassembly is as far as one should go in the service and repair of a starter, except for replacement of the armature shaft bushings.Any disassembly beyond this point —such as removal of the field coils, or the commutator brush holders from the end frame —would usually be for testing or repair beyond the range of most home shops. The overrunning clutch mechanism is considered to be non-repairable and is simply replaced. While the Bendix drive can be disassembled and the drive springreplaced (the most common cause of failure), it is usually less trouble to also replace the whole thing as a unit.
Both types of drives are usually long-lived and trouble-free if treated well. Unless the pinion gear teeth are badly worn, or the drive spring is broken on the Bendix, they do not have to be replaced every time a starter is taken apart for cleaning and maintenance. The most common starter service and repairs you will usually be doing at home are cleaning, lubricating, and possibly replacing the brushes and/or the armature shaft bushings.
A starter in a well-maintained and properly treated vehicle should last from around fifty to eighty thousand miles without needing repair or maintenance. Since many HMVs are not driven daily, their starters are not properly treated. The two best ways to kill a starter are underfeed it and overheat it.
UNDERFEEDING A STARTER
“Underfeeding” means low voltage. Whether your vehicle has a 6-, 12-, or 24-volt system, low voltage to the starter is almost always due to simple causes. The most common causes include a weak or undercharged battery and/or loose, dirty, or corroded electrical connections. It’s not enough to keep a trickle charger on a vehicle’s battery, you must also regularly check, clean, and tighten all wiring connections to the starter and electrical system — especially both the negative and positive battery cables.
While there are various products to keep corrosion from forming on battery cable clamps, wheel bearing grease works just as well. Make sure the battery’s ground is clean and tight at the engine or frame end. If your vehicle’s battery’s ground strap or cable attaches to the frame, make sure the ground strap between the engine and frame is also clean and tight.
A simple way to check if sluggish starter action might only be due to a loose or corroded connection is to turn on the headlights. Aim them at a wall if you’re working alone. Then, crank the engine. If the vehicle’s battery is strong and fully charged (and you know this beyond a doubt) but the headlights dim way down when the engine is cranking, the chances are good that there’s a loose or corroded connection somewhere. While it could be the starter, a little time spent cleaning and tightening all electrical connections, both negative and positive, has brought many sick starters back to health.
OVERHEATING A STARTER
“Overheating” a starter is also due to an obvious cause: Long periods of cranking the engine. Many HMVs sit all week in a driveway or garage, and then won’t start easily on Saturday morning. Their owners crank the engine for five minutes (even though most know they shouldn’t} thinking each time that this is the last time they will do that.
A good rule to follow is a maximum of fifteen seconds of cranking followed by at least a full minute to let the starter cool down. It is not good practice to crank a starter for over fifteen seconds with the ignition switch off to build up oil pressure in an engine. The “saving” of wear on the engine is questionable, but the premature demise of the starter is certain.
Depending on how you use your vehicle, there are various ways to get it to start faster after long periods of idleness — thereby prolonging a starter’s life.
Back in the days when people still named their cars, it used to be common to put an old blanket over the engine at night. Some folks argue that this had more to do with people still thinking in terms of horses than with any sound mechanical principle, but a blanket on the engine will draw moisture away from the engine block, spark plug wires, and distributor — just as it drew sweat out of horses!
Of course, you should keep their vehicle’s engine properly tuned... points, plugs, etc. Many people installed aircraft pump primers in their vehicles back when such WWII surplus was plentiful and cheap. Simply pouring a tablespoon of gas down the carburetor throat usually saves a lot of cranking if you doesn’t have a primer.
Turning the engine over a few times with the hand crank used to be standard advice to Land Rover owners. You may want to try this with you HMV.
Oil additives may also help. Anything that makes an engine start faster is a blessing for the starter.
TROUBLESHOOTING
If you are sure the battery is strong, fully charged, and all connections are clean and tightbut your starter still seems sluggish, then dismount it. It is time to have a look inside to see what might be wrong.
Never wear watches or rings when working around starters. Accidentally brushing a ring or metal watch band against a starter’s power terminal can turn a ring or watch band red-hot in a second. When you are ready, disconnect the battery.
M-series waterproof starters are usually dirt-resistant after fifty or so years, but older or civilian style starters can pick up a lot of interior dust, grease and dirt. Sometimes, just a thorough cleaning and lubing will make them work like new.
After the starter is out of the vehicle and before disassembly, it’s a good idea to take a small punch and mark the relationship between the end frame, field frame, and drive housing. Many starters have tabs or dowel pins on the mating surfaces so these parts will only go together one way. Some older starters don’t have them, and a few were designed so that the drive housing could be rotated for different applications.
If the starter is dirty or greasy, clean the outside first. It’s okay to immerse the whole thing in solvent, but remove the solenoid (if the starter has one) before doing this.
After its bath, lay the starter on your bench — an old towel is nice to work on — and remove the cover band (if the starter has one). Take out the through bolts (usually two, sometimes four)and gently separate the three main pieces (end frame, field frame, and drive housing). Do not use excessive force. If the three components don’t want to come apart, find out why. You may have missed a screw or bolt.
Usually, you’ll want to take off the end frame first. On some starters, the brushes are mounted to the end frame, and you may need to detach a wire. On other starters, the brush holders are in the back of the field frame, and the end frame simply slips off the armature shaft once the through bolts are out.
Don’t lose the thrust washer(s) — remember the advice about laying things out in order! It should be obvious how to disassemble the rest of the unit.
For overrunning clutch starters, you’ll generally have to take out the yoke lever pivot bolt and remove the yoke lever before you can separate the drive housing from the field frame.
For starters with solenoids, disconnect the yoke lever linkage (if you didn’t do this already for cleaning) and remove the solenoid from the field frame.
Some yoke levers on solenoid starters look like they can be installed facing either direction, but they can’t (at least, not if you want the starter to work properly). Therefore, mark the front side of the lever (toward the engine’s flywheel) before you forget.
Likewise, note how the yoke lever pivot bolt is installed. If it has a nut on one side, that’s the way it should go back in. Don’t install the bolt with the nut on the opposite side!
Also, if the yoke lever has little shoes that ride between the flanges of the clutch drive, the curved sides of the shoes face the engine’s flywheel. Watch for any thrust washers on the front end of the armature shaft. On waterproof starters, watch for O-rings, gaskets, and special seals.
If your starter is the foot pedal type, remove the motor switch now. Examine the copper contacts inside. If they are badly worn, burned, or pitted, you should replace the switch. These are still available — check with one of the parts advertisers in this magazine.
If they are still in good condition, canclean the contacts with fine sandpaper or crocus cloth. Be sure to clean off any metallic dust afterward. Check to insure that the battery cable bolt is secure in the switch housing. Tighten the nut, if necessary.
When everything is apart, give it all a good cleaning. If the starter was full of grease, dirt, and small dead things, that may have been the only reason it wasn’t working right.
After all the components are clean, examine the brushes and armature shaft bushings. If the brushes are worn almost down to the top of their holders, you can try to find replacements at your local auto parts store — though many clerks under 60 will look at you like a tree full of owls if you’re shopping for starter brush sets.
If you’re lucky,the data plate is still on your starter. Those numbers may help, but it’s better to take the old brushes with you and match them by size and shape.
Yes, brush sets are available, but you probably won’t find them at an auto-mart chain store. You may, however, find them on a venue such as eBay. Fortunately, there aren’t that many different brushes for older U.S. starters.Brushes for 24-volt models are no different from their 6- or 12-volt counterparts: Brushes are brushes.
ARMATURE SHAFT BUSHINGS
All of the above also applies to the armature shaft bushings. An easy way to check if your bushings are badly worn is to slip the end frame back onto the armature shaft after everything is clean.
Then wiggle the end frame side to side. This was not an extremely tight fit even when new, but if the armature shaft seems very loose in the bushing, replace the bushing.
To check the forward bushing, insert the front end of the armature shaft into the front of the drive housing and do the wiggle test again.
Some starters have an intermediate bushing, but you usually don’t have to worry about it because it gets relatively little wear. The old bushing in the drive housing can be driven out with a bolt or a socket. Use your ingenuity to pull out the end frame bushing, but try not to damage it. You might need it for sizing a replacement.
Examine the drive, whether Bendix or an overrunning clutch type. If the latter, check that the clutch mechanism is tight yet turns freely and ratchets in one direction only. If it “expands” and won’t retract again, don’t worry. It will retract the first time you start the engine.
Make sure the pinion gear teeth aren’t badly worn, nicked, or burred. Yes, they are supposed to have a bevel on the front.
If you decide to replace the drive, you’ll see that it’s held onto the armature shaft with a collar and internal clip arrangement that is not hard to figure out how to remove. Just don’t lose the clip!
For a Bendix drive, examine the gear teeth for wear. Pay special attention to the drive spring. If it looks or feels bent, distorted, or weak, it’s best to replace the whole drive unit. Removal is obvious.
It used to be common for every garage and most gas stations to have an armature lathe to re-cut the commutator, but those days are long-gone. If the commutator isn’t extremely worn, just clean the grooves carefully with an ice pick or a piece of hacksaw blade (don’t dig) and lightly polish the surface with fine crocus cloth. Be sure to clean off all the resulting dust or the brushes will arc.
If the commutator is badly worn, you might need to check with an auto electric shop about repair or replacement — but that may cost more than just ordering a complete starter from one of our advertisers!
If you have a solenoid starter, clean and polish the shift plunger and the barrel it goes in.
DEEP WATER?
If you really plan to deep-water ford your HMV, you can try some MV parts suppliers for a starter seal kit for its waterproof starter. You can probably do a better job of waterproofing with silicone then the manufacturer did with O-rings and seals, however.
INSTALLATION
Installing new brushes and bushings should be an obvious process. After all, you took them out! Likewise, since you also disassembled the starter and laid everything out in the proper order, the reassembly is just the reverse — or should be!
Use good quality, high-temperature wheel bearing grease to lube the bushings (disk brake grease works well) but don’t over-lube! A little glop on a pencil eraser is all it takes.
A light coat of grease between the flanges of the overrunning clutch unit is a good idea, as is lightly greasing the drive spring on the Bendix. A bit of grease on the obvious wear points of the yoke lever pivot and the solenoid linkage is also good.
Remember which way the yoke lever faces. Ditto for its shoes (curved sides facing the engine’s flywheel). Lightly grease the armature shaft thrust washers on both sides, and put a few drops of light oil or spray WD-40 on the solenoid plunger.
Installing the brushes of either the field frame (if that’s where your starter’s brushes are mounted) or the end frame back over the commutator can sometimes be frustrating — unless you happen to have three hands. You get two brushes, maybe three to slide over, but then the last one always hangs up, while the rest pop out when you try to fix it.
A trick is to pull back the brush springs with needle nose pliers, draw the brushes almost out of their holders, then wedge them in place with the springs. After the brush assembly is on the commutator, push on the brushes with a screwdriver. They should snap back down in their holders.
After the starter is reassembled, hook up a battery with jumper cables, and try a test spin on the bench but be careful! A starter has a lot of torque. Itwill twist or jump violently if not held down. Try clamping it in a vise. Keep your fingers clear of its gear teeth — especially the Bendix type.
It the starter seems to work okay, put a little grease on the pinion gear teeth and reinstall it in the vehicle. If the Bendix has “expanded,” rest assured. It will contract after the engine has started.
As with most vehicle components, a little service, care, and cleaning are usually all it takes to keep a starter working properly. The longest journey begins with a single step… which might be your foot on your HMV’s starter pedal.