MV Parking Brake Service
by Steve Turchet I’m not quite sure when I began to work for a living, but it was around the age of eight. My dad owned a small scrap-metal yard…
by Steve Turchet
I’m not quite sure when I began to work for a living, but it was around the age of eight. My dad owned a small scrap-metal yard in Oakland, California, and prior to the age at which some boys join the Cub Scouts I helped him run our business, prowling among mountains of junk, searching for tidbits of brass and copper, electric motors, and car and truck generators. I was usually rewarded at the end of the day with enough pocket change to hit the corner market for sodas, chips and candy bars. As a bonus I also got to drive our 1946 Reo 2-ton truck around the yard and play with our 1937 Northwest crawler crane.
I knew it was time to get serious when Dad took me to the Army Surplus store and bought my first pair of steel-toed engineer boots...though most kids called them “biker boots.” Before that I had worn sneakers, and my toes had suffered a lot. I quickly discovered the joy of having armored feet, kicking anything that got in my way, including a nasty neighborhood dog and a fourth-grade bully’s shin. It was also cool not having to dodge if a greasy car battery slipped out of my hands while unloading a truck. My starting pay was 50 cents an hour — not bad if you consider that most candy bars were a nickel, Shasta sodas were 12 cents a can, and a local burger joint sold surprisingly good cheeseburgers for a quarter.
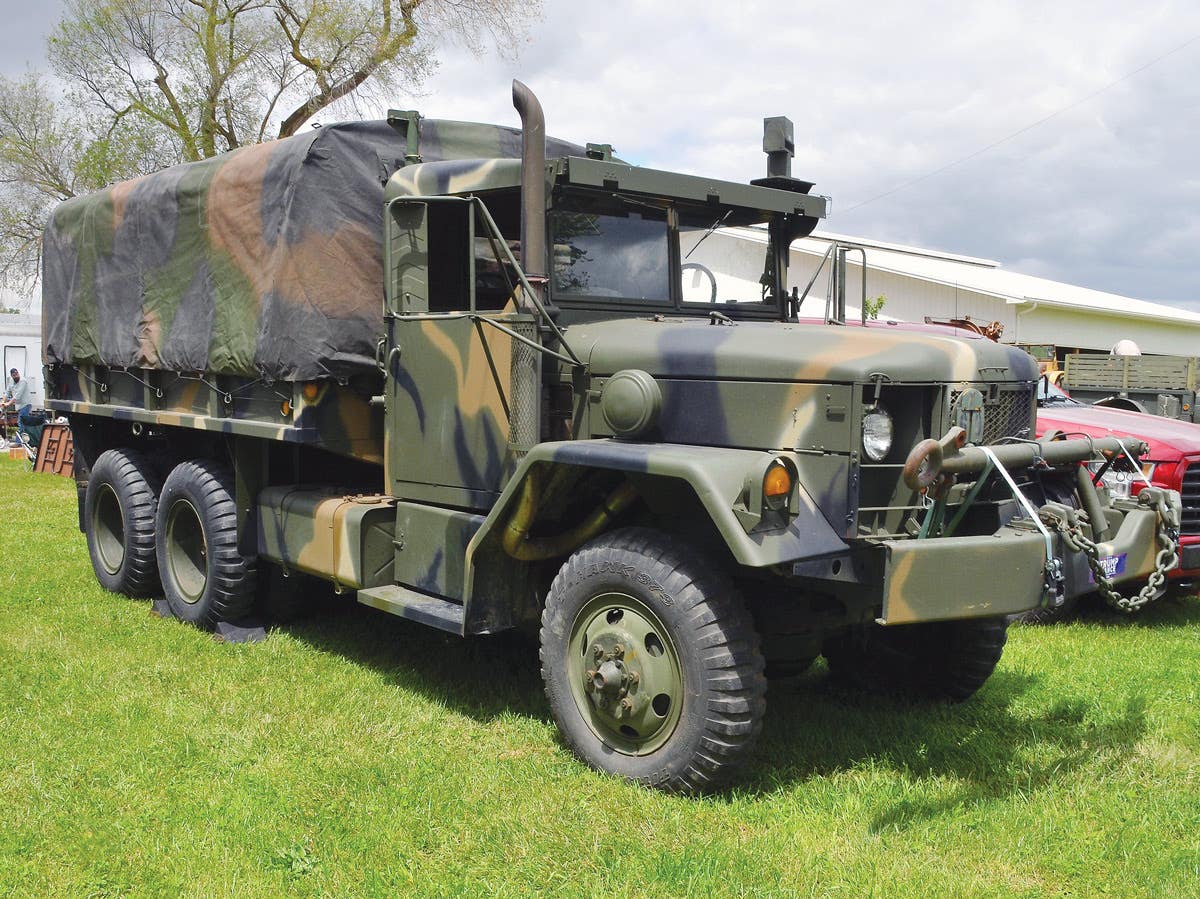
One of the many trucks that brought scrap to our yard was a war-surplus, closed-cab CCKW. While military fixed-sided cargo beds aren’t usually good for most civilian applications, this truck was quite useful as a scrap-hauler since we unloaded vehicles with a magnet on our crane. One afternoon, this truck pulled in with a load of railroad iron. My dad was on the crane unloading another truck, so the CCKW’s driver left his engine running and went to battle our antique Coke machine. I noticed that the idling CCKW was slowly rolling backward, and got the bright idea of stopping it by shoving one of my fearless steel toes under a rear wheel.
There was no problem stopping the truck...the problem was I hadn’t considered how I was going to get my toe out from under the tire! Nor could I get my foot out of my boot. Being too proud to yell for help, I tried to strike a casual pose for the next 10 minutes (“smoke ‘em if you got ‘em”) until the driver returned. Little honors mean a lot when you’re eight, and I was grateful when, instead of laughing, the driver just said something about the brake slipping (obviously), got in the truck and eased it forward. He even thanked me for stopping it — not that it would have gone very far — which made me feel like a hero instead of a dumb little kid.
PARKING BRAKES: A POINT OF FAILURE
Most of us who have owned older vehicles, military or not, have probably been in at least one situation when we needed to leave a vehicle’s engine running while parked on a slope and the parking brake wouldn’t hold. This can happen on any size or type of vehicle from a WWII Willys Jeep to a Vietnam-era M939 5-ton truck. At best, these situations are annoying; at worst they can mean a runaway vehicle and maybe a lot of damage.
How much holding power should a parking brake have? The California vehicle code used to say that a parking brake should be able to hold a vehicle on any slope on which it was operated; though that requirement probably didn’t take into account some off-road situations that one may encounter with a jeep, MUTT, M37, HMMWV, or an M35. Still, most parking brakes were, indeed, designed to hold a vehicle on just about any slope, and if the brake won’t hold, it usually means there is something wrong with either the mechanism that applies the brake and/or the brake lining. In the case of my runaway CCKW, it was a worn-out ratchet on the parking brake lever.
PARKING BRAKE BASICS
Even though a few people still call a parking brake an “emergency brake,” most parking brakes were not designed to stop a moving vehicle. In this article I will cover the parking brake systems of most common collector vehicles in the MV hobby and learn how to service and maintain them.
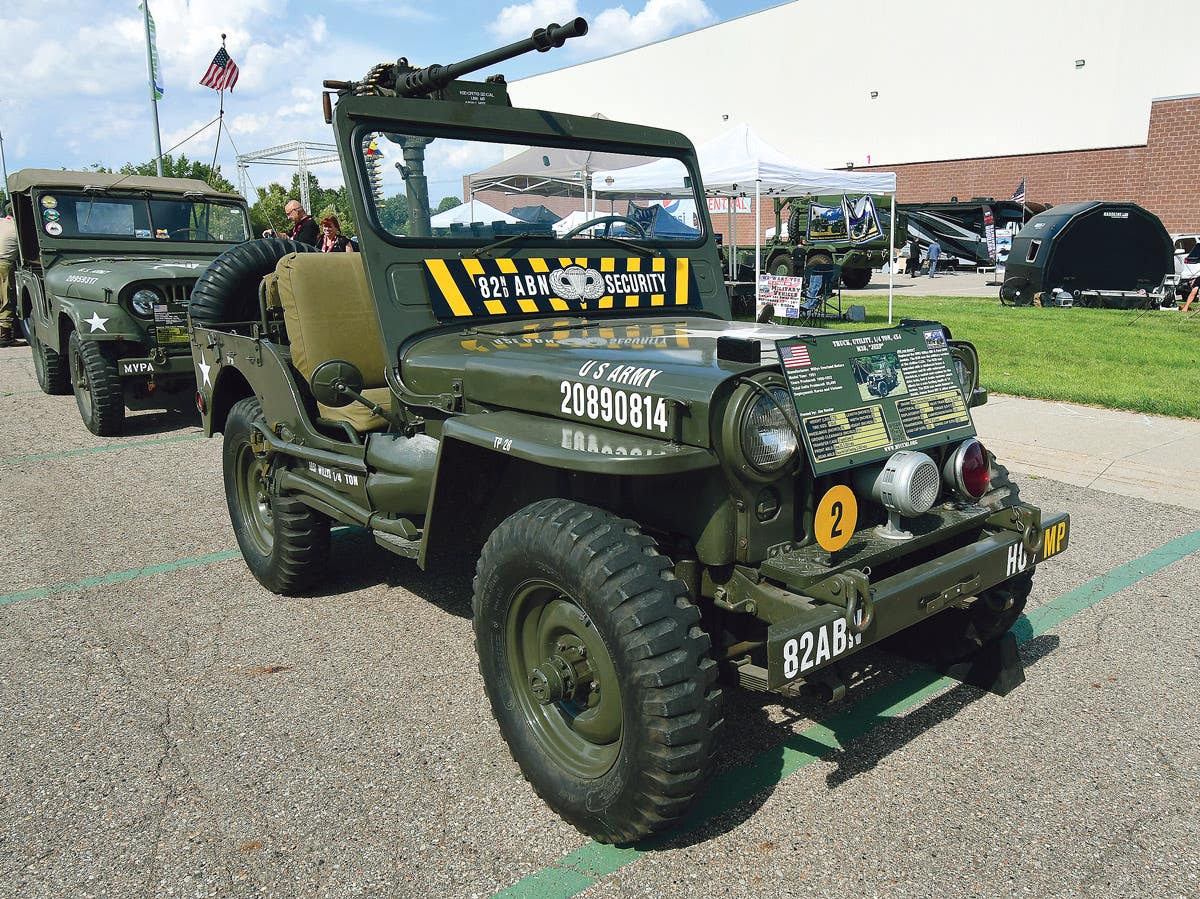
There are two basic types of mechanical parking brake systems used on most vehicles with hydraulic service brakes, as well as on many vintage vehicles equipped with air brakes. The first type uses a drum or disk on the transmission or transfer case output. When a lever or handle is pulled in the driver’s compartment it actuates a rod or cable linkage and a brake band, brake shoes or pads clamp to the drum or disk, locking the drive shaft so the vehicle’s rear wheels can’t turn. This system is used on many commonmilitary vehicles, including most jeeps, Dodge WCs and M37s, Kaiser M715s, some early model HMMWVs, most deuce-and-a-halfs, 5-ton trucks, and also on many larger vehicles and construction or material-handling equipment.
The second basic type of parking brake system is often called a “U-brake” because a single cable runs to both of the vehicle’s rear wheels and is attached to a single pull point so it forms a “U.” When a lever or handle is pulled in the driver’s compartment, the cable mechanically applies the brake shoes or pads at both rear wheels. This system is used on many civilian jeeps, automobiles, light trucks, and military CUCVs. Some early U-brake systems applied only one brake shoe at each rear wheel. The result was that the parking brake usually kept the vehicle from rolling forward when facing downhill but often lacked the same holding power if the vehicle was facing uphill. Most later and current U-brake systems apply both shoes at each rear wheel. Most later-model HMMWVs use a similar system that mechanically applies the rear wheel disk brakes.
Both systems are independent of a vehicle’s hydraulic service brakes, and will hold a vehicle stationary — may even bring it to a stop — if the service system fails. Likewise, most parking brake systems are also independent of any “park” feature in an automatic transmission.
It might be said that there is a third basic type of parking brake system, often called a “Mico Brake” because many were manufactured by Mico Corporation. However, few U.S. military vehicles were equipped with Mico Brakes, with the exception of some M211 type trucks. And, since a Mico type brake uses a vehicle’s hydraulic service brake system, it is useless if the service system fails. Nor are Mico type brakes meant to be left applied for more than an hour or so because the wheel cylinders may leak.
WHAT’S IN A BRAKE?
The two basic parking brake systems can be sub-typed by the components that hold a vehicle in place. The three basic sub-types of the first system are the external contracting band, the internal expanding shoe, and the external contracting pad (or disk type) brake. Similarly, the second basic parking brake (or U-brake) system can be sub-typed into shoe or disk.
Since we’re talking basics, it may also be said that there are usually two main reasons why a parking brake won’t hold. The first is that the mechanism that applies the brake — the handle or lever in the driver’s compartment, and/or its connecting linkage — is worn-out, broken, or out of adjustment. The second basic reason a parking brake won’t hold is that the lining, shoes or pads are worn-out and/or not properly adjusted. In older or hard-used vehicles one may encounter a combination of all the above.
In theory, the band lining material, shoes or pads of the first type of parking brake system should never wear out nor require much adjustment for the life of a vehicle. After all, a parking brake is meant to be applied only when a vehicle is stationary and released before a vehicle begins to move. So, unlike a service brake system, the lining material should seldom come in contact with a rotating drum or disk. Therefore, the only problems one should have with the first type of parking brake system is normal wear on the pull-handle or lever mechanism and their connecting linkages.
However, in practice, parking brakes are often accidentally left on when a vehicle is driven, and the driver only realizes this a few miles down the road when puzzled about the vehicle’s lack of power and/or begins to smell the hot parking brake band, shoes, or disk pads. In extreme cases the overheated parking brake may cause a fire, especially if oily or greasy. I got to play hero at the age of 13 by grabbing a fire extinguisher and crawling under our school bus when its parking brake caught on fire because the driver had left it on. One of the reasons why HMMWV parking brake systems were changed from a disk on the drive shaft to a U-brake configuration was that the heat caused by the drive shaft brake being left on could melt the plastic fuel tank.
Then there are some folks who pull the parking brake handle or lever while a vehicle is still moving — sometimes just to skid the rear wheels like a kid with a BMX bike; and a few people, myself included, have had to operate vehicles with non-functioning service brakes; not a smart or safe practice. Lastly, there are rare situations in which you might have to use a parking brake to stop or slow a runaway vehicle.
So, again in practice, it’s fairly common for parking brake lining material to wear out and/or need adjustment; though the best way to prevent this is to use a parking brake as it was meant to be used...or parking. Apply it only when a vehicle is stationary and release it before the vehicle begins to move. On the other hand, since the second basic type of parking brake system, the U-brake, uses the service brake shoes or pads, these items wear out during the normal operation of a vehicle.
SERVICING THE PARKING BRAKE
The two main problems commonly encountered with parking brake systems are wear in the handle, lever and/or linkage mechanism that applies the brake, and wear of the lining material of the band, shoes, or disks. Since there are many different types of handles, levers and linkages used on common hobbyist MVs, it’s impossible to cover their adjustments and repairs in the space of this article. As I often say, buy a service manual for your vehicle.
The most common problem with these mechanisms are wear in the components of the handle or lever, especially in the ratchet or locking parts, so the handle or lever won’t stay locked after being pulled and/or slips when left unattended... like the CCKW that trapped my toe. Most such components are offered NOS, repro, or as good take-outs by many of the advertisers in this magazine; and the best fix is to replace worn or broken parts. Of course, if one is fairly skilled at welding and fabricating, one may often be able to build up worn ratchets and other parts in their home shop.
The second main problem one usually encounters with parking brakes is worn or out-of-adjustment lining material. Assuming your vehicle’s parking brake handle or lever and linkage components are in good shape and working properly, about the only other reason why a parking brake won’t hold lies with the band, shoes or pads.
Let’s begin with the first basic type of parking brake system that uses a drum or disk, usually mounted on the rear of the transmission or transfer case. We know there are three basic sub-types: the external contracting band, the internal expanding shoe, and the external contracting pad. Some early WWII jeeps used external contracting band parking brakes, though most later U.S. military jeeps were fitted with internal expanding shoe systems. External contracting band parking brakes were used on many WWII vehicles, such as Dodge WCs, the Chevrolet G-506, and the GMC CCKW and DUKW, as well as on many other trucks, fighting vehicles, and equipment. Although they look very simple, many people don’t know how to properly adjust them.
Adjustment of external contracting band brakes begins with a thorough cleaning and a careful inspection. And, on most older vehicles that are used for more than show, one can’t perform a careful inspection without first doing a thorough cleaning. If the band material looks worn out, it probably is, though the only way to be sure is to remove the band from the drum. This is usually a simple procedure and the process should be obvious.
It’s a good idea to line up all the parts — especially the little springs and other small items — in a row on your floor or workbench in the order in which they came off and the direction they were facing. Most parking brakes are simple mechanisms but they need all their parts to work right, and all of those parts must be installed correctly. On older vehicles it’s quite common for some of these parts to be missing or incorrectly installed. I say again, buy a manual.
An important thing to check is if the drum is loose on the drive shaft universal joint yoke. If so, it will wobble and wear out the band lining. Another thing to check is if the yoke itself is loose on the transmission or transfer case output shaft. If so, it will not only make the drum wobble but will wear out the oil seal and oil will leak onto the brake. This is especially common on jeeps.
If, as is often the case with older or well-used vehicles, the band lining material is worn down to its rivets, burned, charred, cracked, brittle, or soaked with oil or grease, it should be replaced. It used to be common practice to soak oily brake bands in gasoline and then burn out the oil by lighting them on fire, but that wouldn’t be politically correct today. The usual options are to buy an NOS, repro, or good take-out band assembly; or you can have your band relined by a brake company or a firm that specializes in friction materials, such as those used on friction cranes.
If the drum is badly worn, deeply corroded, or scored by the lining rivets, it should also be replaced. If not badly damaged you may be able to smooth it with a wire brush or sandpaper. It’s generally not a good idea to have such drums turned on a lathe because this may reduce their diameter to the point where a stock band can’t be adjusted properly and the brake won’t hold.
Assuming that your band is still in good shape — or you got a replacement or had it relined — reinstall it. Be very sure that all the parts are back in their correct locations! Then, block the vehicle’s front wheels and jack up the rear so the back wheels are off the ground. Put the transmission and transfer case in neutral, and completely release the parking brake mechanism so the rear drive shaft can be turned by hand.
The first step in adjusting an external contracting band brake is to set the band-to-drum clearance at the anchor point. While the illustrations in this article are of a CCKW, the procedure is generally the same for all such brakes, and the clearances shown will usually work on most common MVs, such as early WWII jeeps, Dodge WCs and M37s, M715s, etc.
Many anchor bolts or screws are secured with lock wires, but don’t replace the lock wire until all the adjustments have been made and you have road-tested the vehicle.
The second step in adjusting this type of brake is to set the band-to-drum clearance at the bottom, and the final adjustment is setting the band-to-drum clearance at the top. After these three adjustments have been made, rotate the drum (or drive shaft) by hand to make sure the band isn’t dragging on the drum. Then make any adjustments in the linkage to assure that the band clamps tightly around the drum when the handle or lever in the driver’s compartment is pulled. If the band is new or relined, the handle or lever probably can’t be pulled out (or back) as far as before you replaced the lining material.
The important thing to check now is that the band releases all the way when the handle or lever is released so it doesn’t drag on the drum. Of course you will lubricate all the linkage points so everything works smoothly. After making sure that the band fully releases, and checking again that it doesn’t drag on the drum, take the vehicle for a drive. Stop after a few miles to see if the drum and band are getting hot, though with a new or relined band they may be warm until the band runs-in, and you may have to re-adjust the band. Then park the vehicle on a steep slope and check to see if the parking brake holds. If all is OK, drive home and install a lock wire on the band’s anchor point, if a lock wire is used.
Adjustment of the internal expanding shoe parking brake, as used on most jeeps, also begins with a thorough cleaning and a careful inspection. As with the external contracting band, a manual will be handy to make sure your brake has all its parts and all those parts are installed correctly. It’s fairly common on jeeps for the drum to be loose on the drive shaft yoke, and/or the yoke to be loose on the transfer case output shaft. It’s also common for the oil seal to be leaking, and now is a good time to replace the seal.
Check the drum for excessive wear, deep corrosion, scoring or cracks. If badly damaged, replace it. Likewise, examine the brake shoes and replace them or have them relined if necessary.
When everything is back together, adjust the shoes so they don’t drag on the rotating drum but are tight enough that they clamp firmly against the drum when the lever or handle is pulled in the driver compartment. Although the illustration shows 3/32 of an inch clearance between the actuating lever and the back of the brake mounting plate when the brake is fully released, the mechanism is usually so worn on older jeeps that you will probably have figure out the best adjustment on your own. It’s common for the actuating lever and its pivot bolt to be badly worn on jeeps, so one should consider replacing them.
After making all the adjustments, check that the shoes fully release when the handle or lever is released, then take the vehicle for a drive. Stop after a few miles to see if the drum is getting hot. If all seems okay, park on a steep slope and set the brake to see if it holds.
Adjustment and inspection of an external contracting pad (or disk) type parking brake is no different from the two other types. Do a thorough cleaning, check the pads for excessive wear or damage, and check the disk for deep corrosion, scoring and cracks. Also check that the disk isn’t warped. (On older HMMWVs with this type of parking brake, corrosion is often present and the disk is often warped.) Final adjustment is made so that the pads fully release and don’t drag on the disk. Then take the vehicle for a drive as in the two previous examples.
ADJUSTING U-TYPE BRAKES
On most vehicles with U-type parking brakes, the shoes or disk pads are adjusted — or self-adjusted — during service brake maintenance, and the main adjustments are only in the handle or lever and linkage mechanisms so that the parking brake mode is fully applied when the handle or lever is pulled and releases all the way when the handle or lever is released.
If the brake shoes or pads are badly worn or out of adjustment, this should already be apparent by poor service brake operation. Again: if the shoes or pads are badly worn or out of adjustment, the parking brake may not hold, nor will the service brakes work right..
For HMMWVs with U-brake systems, the important things to check are that the pads fully release and don’t drag on the disk (or rotor). Also inspect the brake cables because they are often crushed or damaged by the rear control arms. There was an official fix for this problem that required new cable brackets, but the military also recommended wrapping the cables with rubber tape at the points of wear. Many government-surplus HMMWVs are heavily corroded, so it’s important to be sure that everything that moves underneath is free and well-lubricated, including the parking brake components.
BE A SMART DRIVER
No smart driver ever completely trusts a parking brake. One should never leave a vehicle parked on a slope with only the parking brake to hold it. The vehicle should be left in either first or reverse gear — reverse if facing downhill, first if facing uphill — and its front wheels turned in the appropriate direction if parked on a street with a curb. If the vehicle has an automatic transmission with a park position, then “PARK” should be selected. If the vehicle is to be parked on a slope for an extended time, or if the engine has to be left running, block the wheels securely, using actual chocks if possible — bricks may crumble, and stones or wood blocks can pop out. Steel chocks can be found at many auto parts stores — though be sure they’re adequate for your vehicle’s size and weight — and wooden chocks can be easily made from 4” x 4” timber. Chocks are also handy when using your vehicle’s winch. Another smart habit is to always be sure the parking brake is fully released before driving away.
And, don’t use your boot to stop a rolling vehicle... even if you do have fearless steel toes.